
Monday, May 18, 2015

Friday, March 13, 2015
Thursday, March 12, 2015


Wednesday, February 11, 2015

Monday, February 9, 2015
Maya Tools
Salt shaker:

 |
| To loft something you must select everything you're wanting t hen click this button. |
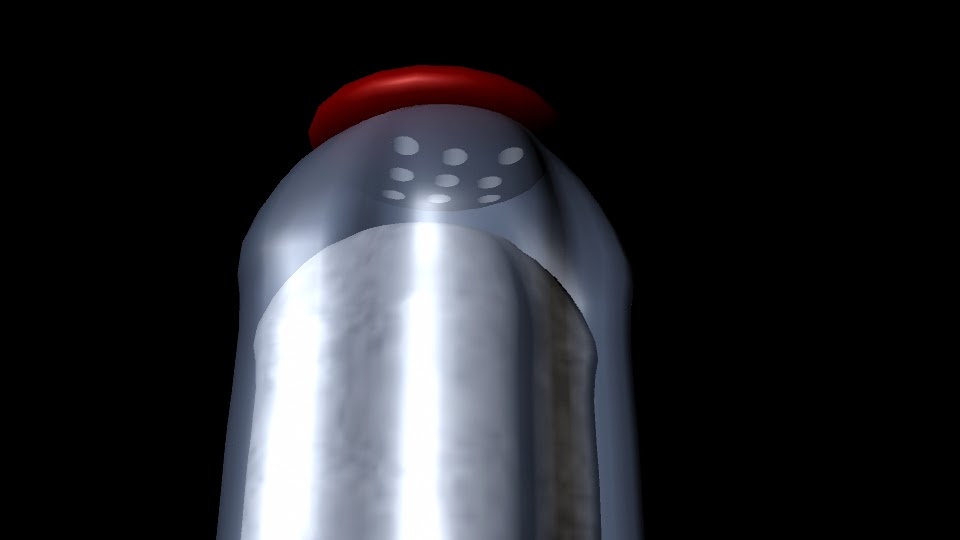 I made this dinner salt shaker by shaping the base of the shaker. Then made a skeleton of the body of the shaker. Later used the lofting tool to make the body of the shaker and colored it blue with a transparency. Next I made the cap of the salt shaker and then colored in a red blinn material. Then made the holes of the cap by making the small cylinders and placing them in the lid then select the cap and then all the cylinders then going Mesh>booleans>difference.The last step in the salt and you make a shape then bump map the salt texture on the shape.
 Cups:
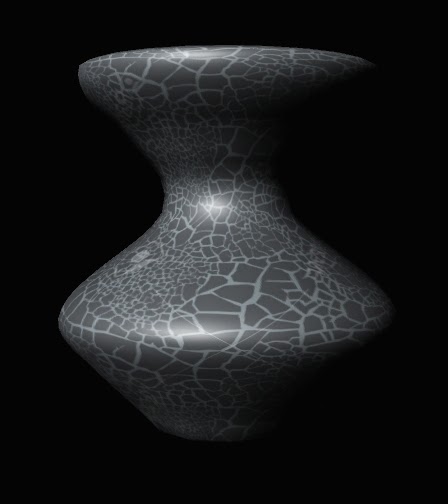 This project was the introduction to NURBS. NURBS is the Non-Uniforn Rational basis spline. First sat my folder up for the new project
  |
| To finish off the cup I used this revolve tool. |

Bounce:
Before editing anything we went and dropped each type of ball we were going to editing and recorded it. Then watch the three videos and collect data of the frames of when it the balls hit floor and when the ball reaches it's highest peak. Next make a sphere and move to according to the data. Press the letter "S" when you are wanting to adding a keyframe. Then do this three times for the tennis, bowling and golfball. Then assigned them a seamless texture.
Thursday, January 29, 2015
Friday, December 12, 2014
Backpack Journalism: Lego Day to Blood Drive
Although I film all the footage of Lego Day but not the blood drive due to timing at my school. We used the six shot system within these films. The first video I filmed was the Lego Day and I was a quick easy task. It was some what a practice round before the Fall Blood Drive. Where you predictably have been put on to be daring to get close and get the shots you want and need to make a successful package. Another task you need to do I asking good question and allowing you subject to speak. Then once you get them to speak you have to make you have quality audio. So you can editing them within your video. Editing is a crucial thing to follow through with the video.

Subscribe to:
Posts (Atom)